Through a university course on robotics I got introduced to the so called Robot Operating System (ROS). And it got me hooked!
The Robot Operating System (ROS) is a set of software libraries and tools that help you build robot applications. From drivers to state-of-the-art algorithms, and with powerful developer tools, ROS has what you need for your next robotics project. And it’s all open source.
After building football robots during my high school days, this was a great opportunity to gain some more hands-on experience.
ROS runs on top of many Linux distributions, so the robots brain cannot be a microcontroller like an Arduino. My preferred distribution is Ubuntu, as I am also using this on my laptop. Again, ROS itself is not an operating system.
Summarized, my rough requirements for the robots brain are:
- able to run Ubuntu
- enough computing power for basic image processing
- all in one: integrated motor and servo drivers, serial connectivity, I2C, etc…
After searching for a while it seems like the BeagleBone Blue (BBBL) is a perfect fit! We will see if this holds in my long term experience.
Ordering the BeagleBone Blue is cheap (~ 80 €) considering that you get all electronics you need for a small robotics project in one package. The next step is setting up the OS on the BBBL. One big advantage of ROS is that you can run it on multiple machines and it will behave than like a single system. We will explore this capability later in this post.
Setting Up Ubuntu 18.04.02 on the BBBL
I downloaded the latest official image from the web and burned it to my microSD card. It is important to note that the image I used
bone-ubuntu-18.04.2-ros-iot-armhf-2019-03-24-6gb.img.xz
and all the others which are in the /testing folder do not support the USB connection but are only available through the serial port UART0. Therefore, get yourself a USB to serial adapter like this one and solder a wire connecting the UART0 port to the adapter.
If you are such a serial noob as I am, note that Rx has to be connected to the adapters Tx (transmit to receive, makes sense after all… I wish I had not spent one hour figuring this out). Then you can connect to your BBBL by using screen with
$ sudo screen /dev/ttyUSB0 115200
where the number is the baud rate. Note that during the boot process you are not receiving any messages, only when the login takes place.
The password is temppwd. The first thing to do is set up the WiFi through following the description here. A green light will show up as soon as the device is connected. This will now automatically happen on boot, therefore you might as well as unplug the serial adapter and use SSH over WiFi from now on.
Next, grow the partition to have all the space on the memory card available.
$ sudo /opt/scripts/tools/grow_partition.sh
Then update the system by running
    $ sudo apt-get update
    $ sudo apt-get upgrade
As this is the ROS IoT image, everything we need is already installed! That makes life easy. Alternatively, you can use one of the “released” images for the BBBL and install ROS and everything else you need manually.
To check if everything is setup correctly start a roscore (it will take some time, as the BBBL is not too powerful) and make LEDs blink through
    $ roscore
    $ rc_test_blink_led
Using ROS
As we are now able to run ROS, let’s do something cool! Our simple example will be running a publisher on your BBBL and a listener on your local machine. You should be able to receive the messages sent from the BBBL then on your laptop. We are roughly following the tutorial provided here.
Start a roscore on your laptop and start the listener through
$ rosrun rospy_tutorials listener.py
Then ssh into the BBBL and configure
$ export ROS_MASTER_URI=http://laptop_name:11311/
If automatic host resolving is not working, replace the computer names by their IPs. You also need to set ROS_IP on both machines. Best practice is to simply copy the ROS_MASTER_URI which is provided on startup of the roscore. Try the connection through running on the BBBL
$ rosrun rospy_tutorials talker.py
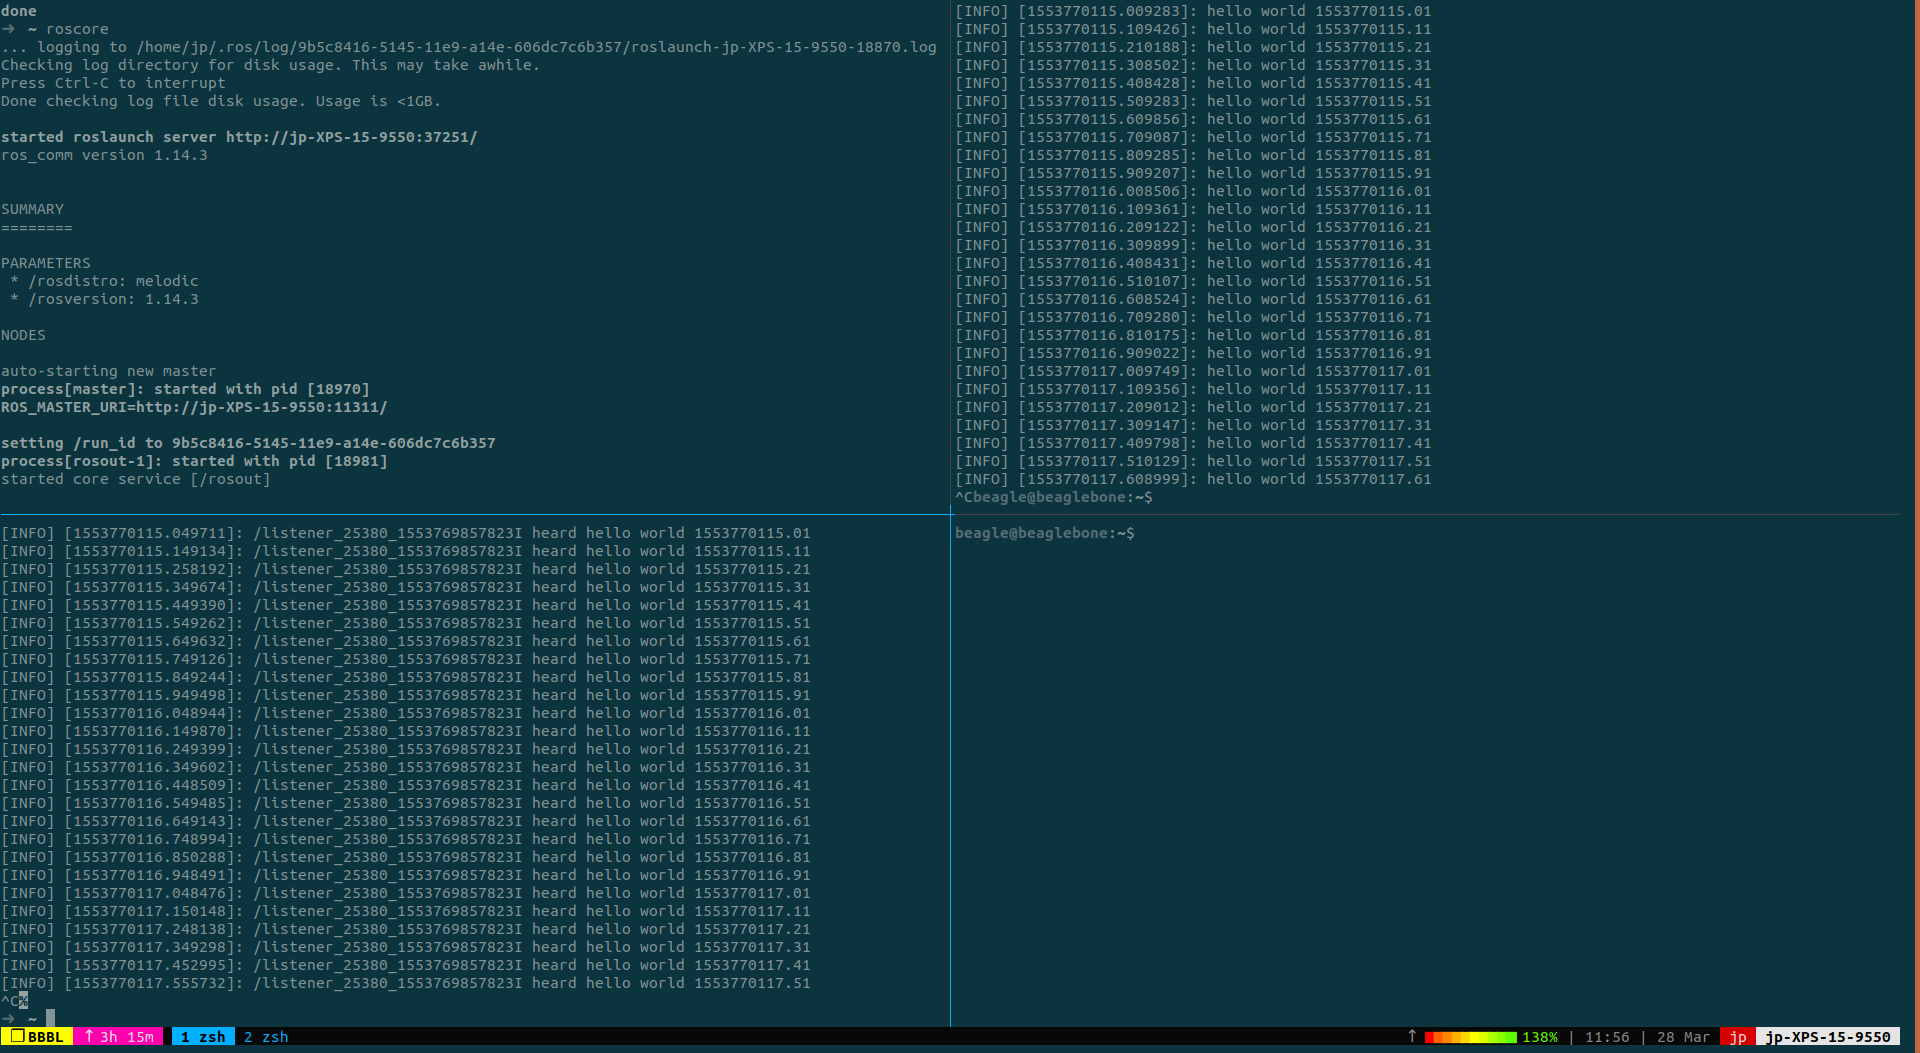
ROS communicating over two machines. Left laptop, right BBBL
You should see a hello world message send form the BBBL on your laptop. Congratulations, you have established a connection to the roscore running on your PC. Way to go to realize cool (distributed) robotics projects!